POSTS
How to identify users across AMP and non-AMP pages
In this post, you’re going to learn how to configure GTM and Universal analytics to uniquely identify and analyze users across AMP and non-AMP pages. If you don’t know how to add analytics to your site, you can check this
As the Google documentation says, there are actually four ways to access your pages when you have AMP content in your site:
- Google search: AMP page is accessed via a Google Search result and displayed inside an “AMP viewer”.
- Proxy/Cache: AMP page is accessed from a proxy/cache.
- Direct AMP: AMP page is directly visited on publisher domain.
- Non-AMP: non-AMP page is accessed on publisher domain.
Previous solutions
Because of this, there were problems assigning a unique client ID to identify users because the AMP pages are served from different domains and cookies are not shared between different domains.
So in the past, there were many solutions proposed by the community that consists of implementing a proxy server to share the _ga cookie across different domains but these solutions felt more like hacks than proper solutions.
Official solution
But there is actually an official solution to solve this problem, It feels more natural and it doesn’t feel like a hack anymore, this solution can be enabled via the AMP Client ID API to share the client ID between your AMP and non-AMP content, once enabled Google Analytics will start using the same Client ID on all the cases described above.
To enable the AMP Client ID API in your pages you first need to add a meta tag in the head of your AMP pages
<meta name="amp-google-client-id-api" content="googleanalytics">
Then you have to opt-in in your non-AMP pages in order to keep using the AMP Client ID that was generated in your AMP page, the process to enable this feature depends if your using plain Universal Analytics or GTM.
Opt-in with Google Analytics
To opt-in with Google Analyitics is as simple as adding a new property when you initialize the ga library and that’s is:
ga(‘create’, ‘UA-XXXXX-Y’, ‘auto’, {‘useAmpClientId’: true});
ga('create', 'UA-XXXXX-Y', 'auto', {'useAmpClientId': true});
Opt-in with Google Tag Manager
The process to opt-in for AMP Client ID API in your pages when you’re using Google Tag Manager to manage the tracking in your pages is a little bit longer but It’s still easy.
Note that these steps have to be done in the container of your non-AMP pages
The process may vary whether you’re using a Google Analytics Setting variable or not if you’re using a Google Analytics Setting variable it should be relatively simple to opt-in for the AMP Client ID API in your page.
Google Analytics Setting variable In order to opt-in in GTM to the AMP Client ID API, you should follow the following steps:
- Open any tag in your container that uses your Google Analytics Setting variable, you should see something like this:
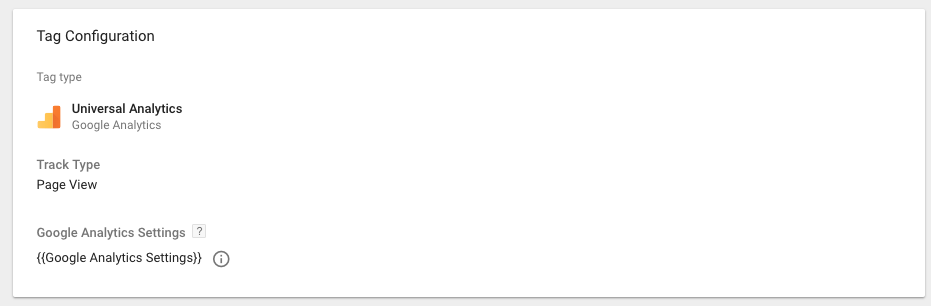
- Click Tag configuration section
- And then click the little Exclamation icon on the right of the Google Analytics Settings select, you should see something like this:
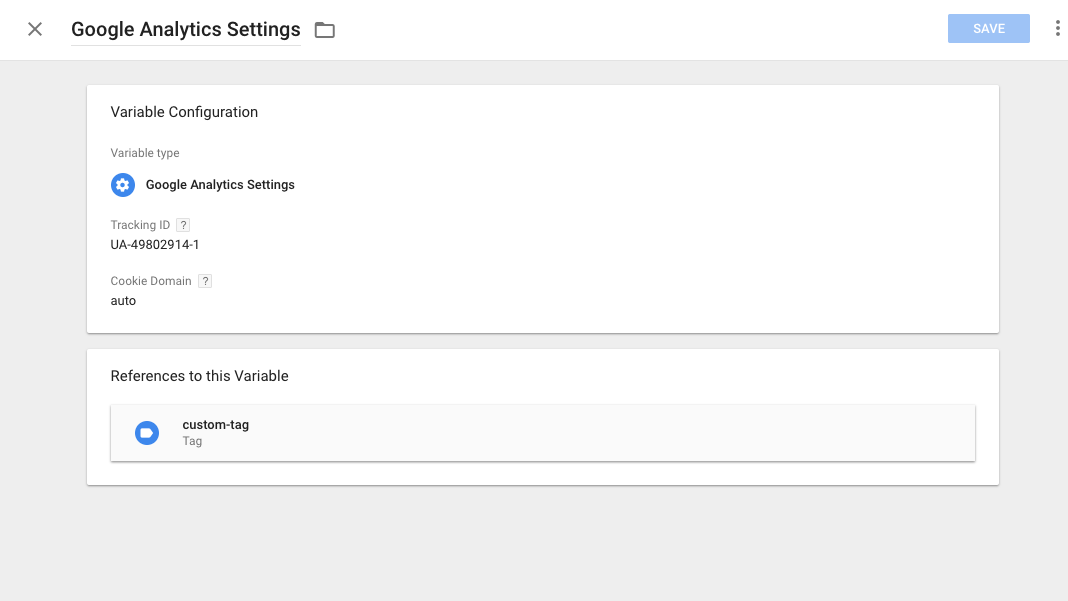
- Click the Variable configuration section
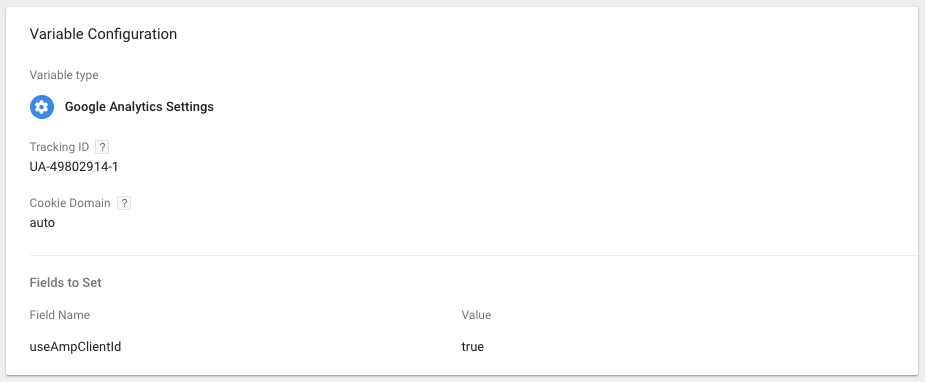
- Navigate to More Settings > Fields to Set
- Click +ADD FIELD
- Set the Field Name to useAmpClientId, and set Value to true

- Save the new variable configuration
- Repeat the process if you have more than one *Google Analytics Setting Variable
- Publish the container
To make changes to individual tags if you are not using a Google Analytics Settings variable:
* Click the tag you want to edit
* Click Tag configuration section
* Navigate to More Settings > Fields to Set
* Click +ADD FIELD
* Set the Field Name to useAmpClientId, and set Value to true
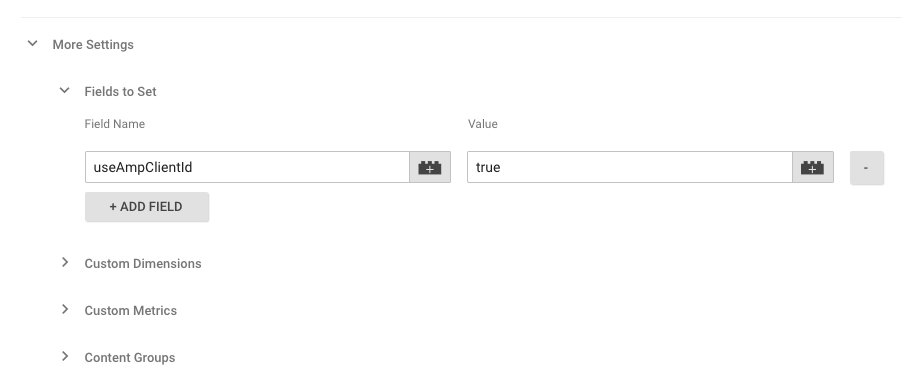 * Save the new variable configuration
* Repeat the process for all the tags you want to edit
* Publish the container
* Save the new variable configuration
* Repeat the process for all the tags you want to edit
* Publish the container